How to Cure Weed – A Guide to Drying & Curing Cannabis
Finally.
Your first home grow has been successful. Your babies (meaning your plants) have been growing for several months, and the buds are firm and gorgeous. The strands that cover the buds (called stigma) have turned from white to orange; the glands containing resin (called trichomes) have turned amber; the “fan” leaves have turned yellow and started to fall off.
It’s time to harvest your carefully-tended crop of cannabis.
You can’t wait. You grind some flower, pack a bowl, fire it up – and…ugh.
That’s not how it’s supposed to smell, taste, or feel! Why is it so bad compared to what I’ve been buying for years?
We hate to be the ones to break it to you. But just because you’ve harvested your weed, that doesn’t mean it’s ready to smoke.
Commercial growers don’t sell you product that’s straight off the plant. Before marijuana is ready for sale and use, producers dry it and cure it first.
You should, too. Here’s what you need to know.
Why Is Drying and Curing Necessary?
Experts estimate that under ideal circumstances, a pot plant grown outdoors absorbs six gallons of water every day. Even one grown indoors under controlled conditions consumes a lot of water.
That means that when you harvest your plants, they contain way too much water to be ready for use. In fact, the average plant is nearly 90% water.
Drying and curing a plant reduces that amount to somewhere between 8% and 15% water, without affecting the buds’ taste, aroma or strength. And if done correctly, those processes actually help them reach their peak flavor and potency.
Some people use “quick dry” approaches instead of properly drying and curing their plants. They utilize ovens, food dehydrators, or even using microwave ovens to remove the moisture from their pot harvest much faster. Unfortunately, they’re also damaging the weed, degrading or ruining many of the properties and benefits it was grown to provide in the first place.
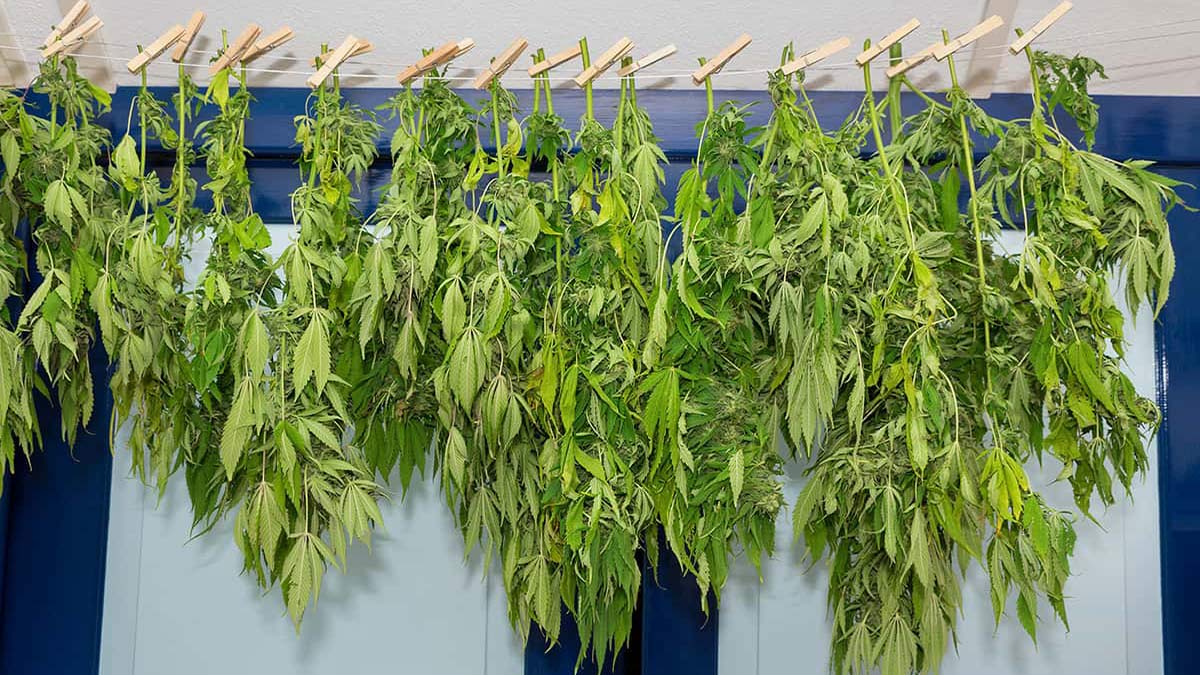
When you’re doing things the right way, drying is the first step. It’s much faster and easier than the curing process that follows because it only removes surface moisture.
The plants are left in the open air, ideally outdoors or in a drying room where the temperature is around 70° and the humidity is around 50%. If the cannabis is trimmed first, the plants only need to sit on a drying rack for a few days. Otherwise, the plants are hung upside down for seven to ten days (so the wet buds don’t get crushed), and trimmed once they’re dry.
That’s followed by the lengthiest and most important step: curing.
Why Curing Weed Is So Important
The process of curing cannabis ensures that the buds dry slowly and carefully in an environment controlled for temperature and humidity. That accomplishes three important goals. First, it reduces their moisture content to optimal levels. Second, it prevents mold from growing on the weed.
Finally, it allows the continuation of chemical reactions that improve the buds’ quality. A high-end, commercially-grown pot is able to delight customers and even win awards not only because of its genetics, but because it’s been processed properly after being harvested. Curing is a crucial ingredient in creating a bomb chronic.
Here’s why it makes such a difference. The plant’s terpenes are largely responsible for flavor and aroma, as well as the overall experience it delivers – and terpenes are extremely sensitive to heat and humidity (and light, too). Once the temperature goes below 50°, for example, terpenes can evaporate and take much of the pot’s goodness with them. The best growers carefully control temperature and humidity throughout curing; that improves taste, aroma, and smoothness while boosting potency.
How do you do it at home? Glad you asked.
How to Cure Weed Properly
Start by choosing a room where the temperature and humidity stay relatively stable. The basement (where it can get humid and wet) or the attic (where it can get humid and hot) aren’t good options in most areas. A pantry or closet can work well, as long as it stays at or slightly below room temperature.
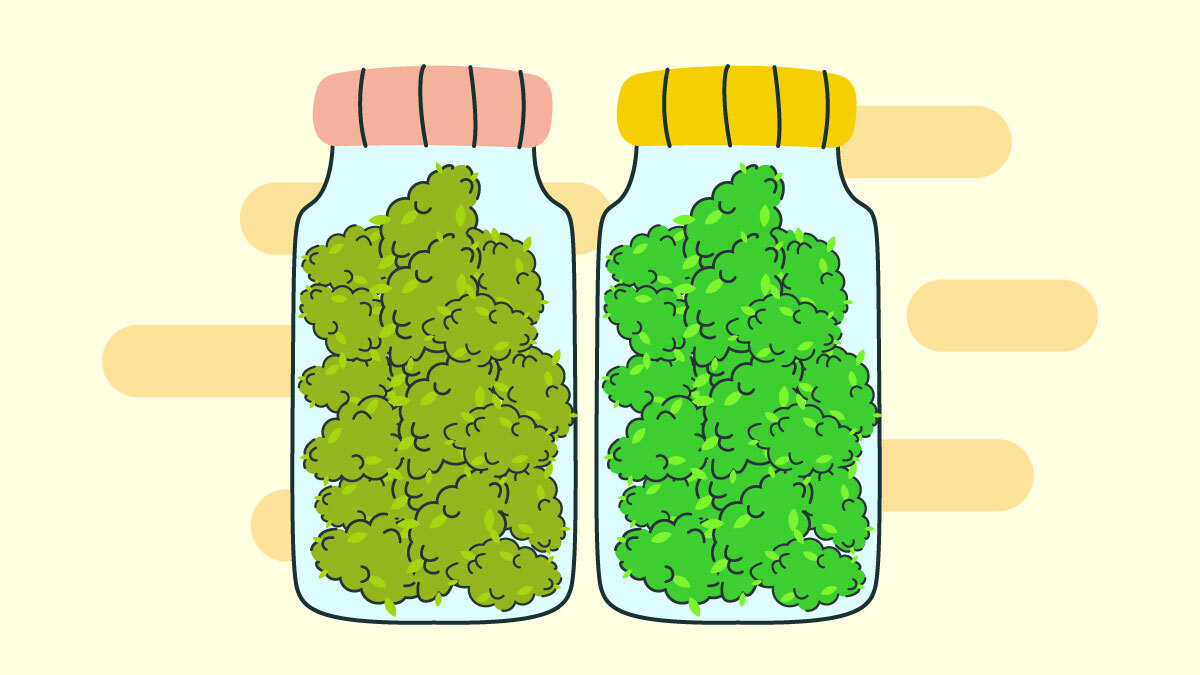
Next, you’ll need some glass jars that can be sealed to be virtually airtight. Mason jars are the easiest and cheapest to find and work with. Use ones that hold either a quart or gallon, depending on much weed you’ll be curing. (Don’t use plastic bags; they let more air in than you’d think.)
Put your dried buds into the jars, but don’t pack them in. Leave room for air to flow around them, and only fill the jars about 75% of the way. Then close the jars tightly, leave them in the room temperature spot you’ve chosen, and turn off the lights. If they’re out in the open, cover them with black plastic or fabric so sunlight can’t get in.
Here’s the best thing you can do to ensure proper curing: buy digital hygrometers and put them into each jar before sealing. They measure humidity and cost about $20 apiece. The humidity in the jar should stay between 55-65%. If it’s too high, leave the lid off for 12 hours or so; if it’s too low, add a humidity control pack (Boveda makes good, inexpensive ones).
After a few hours, check the jars to make sure there’s no condensation inside, the buds aren’t sticking together, and there’s no telltale ammonia odor. Those are signs that your buds weren’t fully dried; take them out, dry them completely, then try again. Also, look for any signs of mold; if you see white spots or hairs, take the affected buds out and toss them. Do it gently, so no mold spores fall into the jar.
For the first week, it’s crucial to check your jars at least once a day. Twice a day is even better. Open the lids for a couple of minutes each time (that’s known as “burping”) so air can flow through, look for signs of mold, and check humidity levels (making the temporary adjustments we’ve mentioned, if necessary). If it’s gotten too humid inside a jar and you notice the aroma of ammonia, leave the lid off for 24 hours to see if the buds will dry out. If the aroma persists, the weed may be ruined.
You’ll only have to inspect the jars once every few days after that. After 3-4 weeks, your weed should be ready – but if you’re in no great rush, let the process continue a little longer. Another month or two of curing (a few strains are best with six months), should improve the quality of your weed even more.
That’s how the pros do it!
How to Cure Weed FAQ
Q: How do I know my weed is dry enough to cure?
A: It’s usually pretty obvious, but here’s a foolproof way to be sure: try bending a stem or branch of the plant. If it bends, the plant isn’t ready yet. If it snaps, you’re ready for curing.
Q: Can I cure my plant before I trim it?
A: Yes, if you’re pressed for time, but it’s a much better idea to trim either before or after drying. When you put an untrimmed plant into your curing jar, the branches and leaves are two more areas where mold can easily grow. The chlorophyll in the leaves can also negatively affect the buds’ smell and taste. Needless to say, you’ll need more or bigger jars, too.
Q: Do all producers dry and cure their products?
A: Reputable ones do. The competition is tough enough that cutting corners will drastically hurt their business. If you’re buying off the street, all bets are off – just one more reason to know your supplier before giving them any portion of your hard-earned recreation budget.